Manage customers & vendors
This guide shows you how to add and manage the parties you do business with — customers (who you sell to) and vendors (who you buy from). The two work almost identically, so they're covered together.
What this is
A customer or vendor record stores a party's GST identity, addresses, contacts, and payment terms. Once a party exists, TrackBooks links every invoice, bill, payment, and report to it — giving you a running ledger and aging position per party. You can create parties up front, or on the fly while raising an invoice or bill.
Before you begin
- Role required: Admin or Accountant.
- Helpful to have: the party's GSTIN (for registered businesses) or PAN.
Add a customer
Go to Sales → Customers → Create new customer. Fill in:
- Customer GSTIN — for a registered (B2B) customer. Leave blank for an unregistered (B2C) customer.
- Customer Name (required) — the legal/trade name. An optional Display Name is what shows in lists and reports.
- The tabs below — Address (billing & shipping), Contact, Banking, Payment Terms, Remarks — hold the rest. Only the name is mandatory; add the rest as needed.
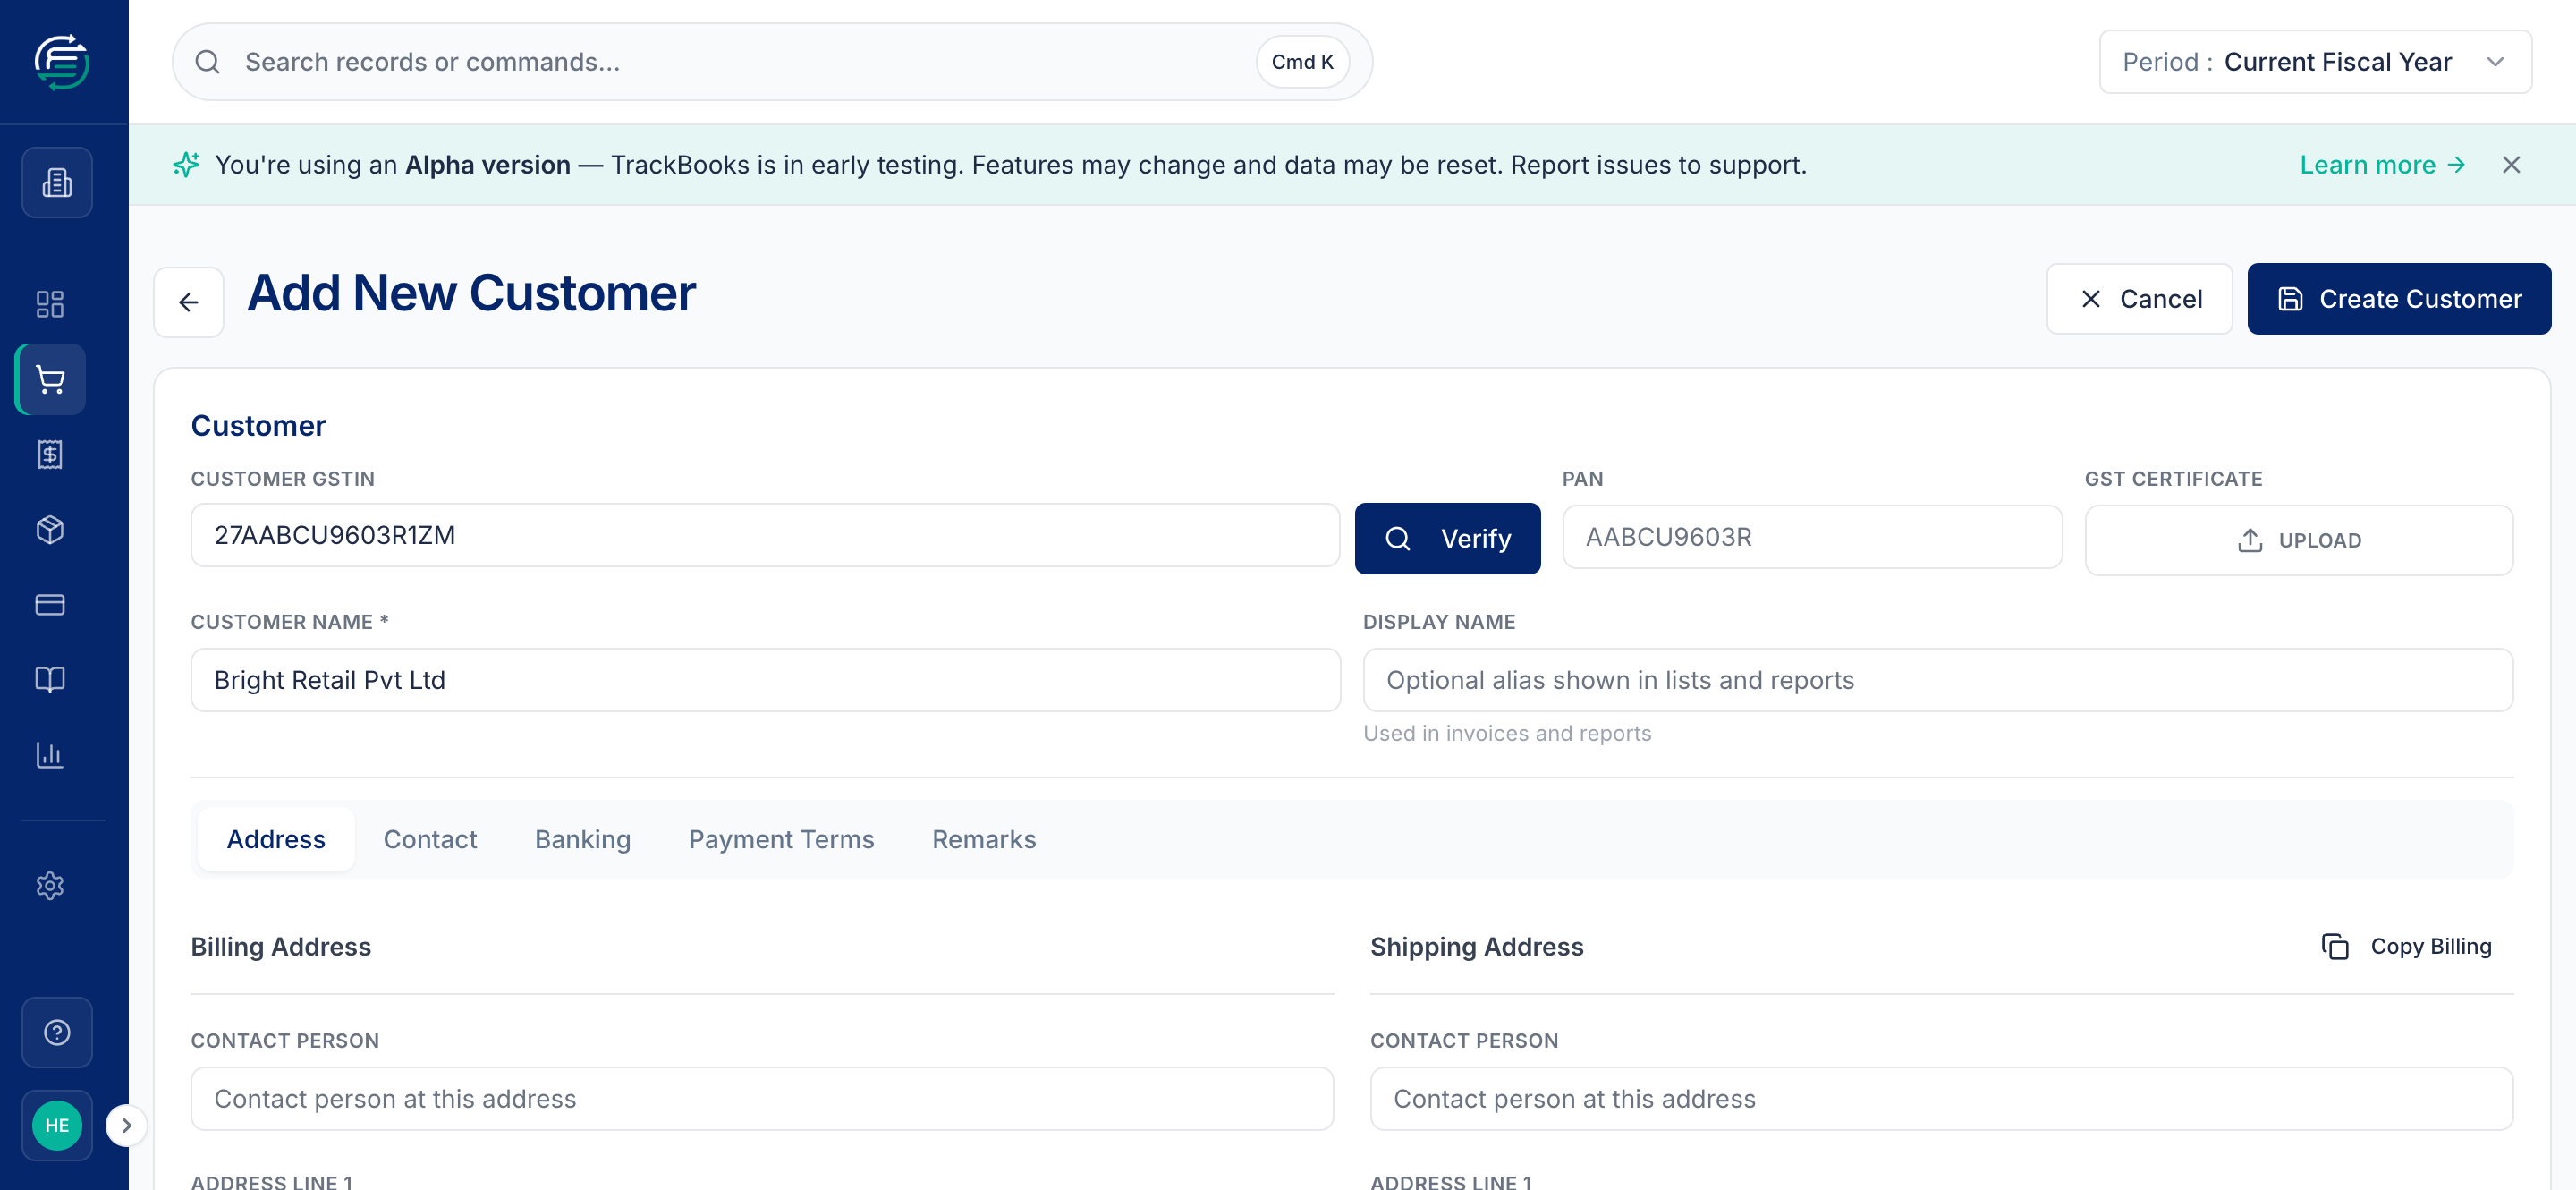
Click Create Customer. You land on the customer's detail page, which becomes their running ledger — every invoice and payment for this customer shows here, along with their outstanding balance.
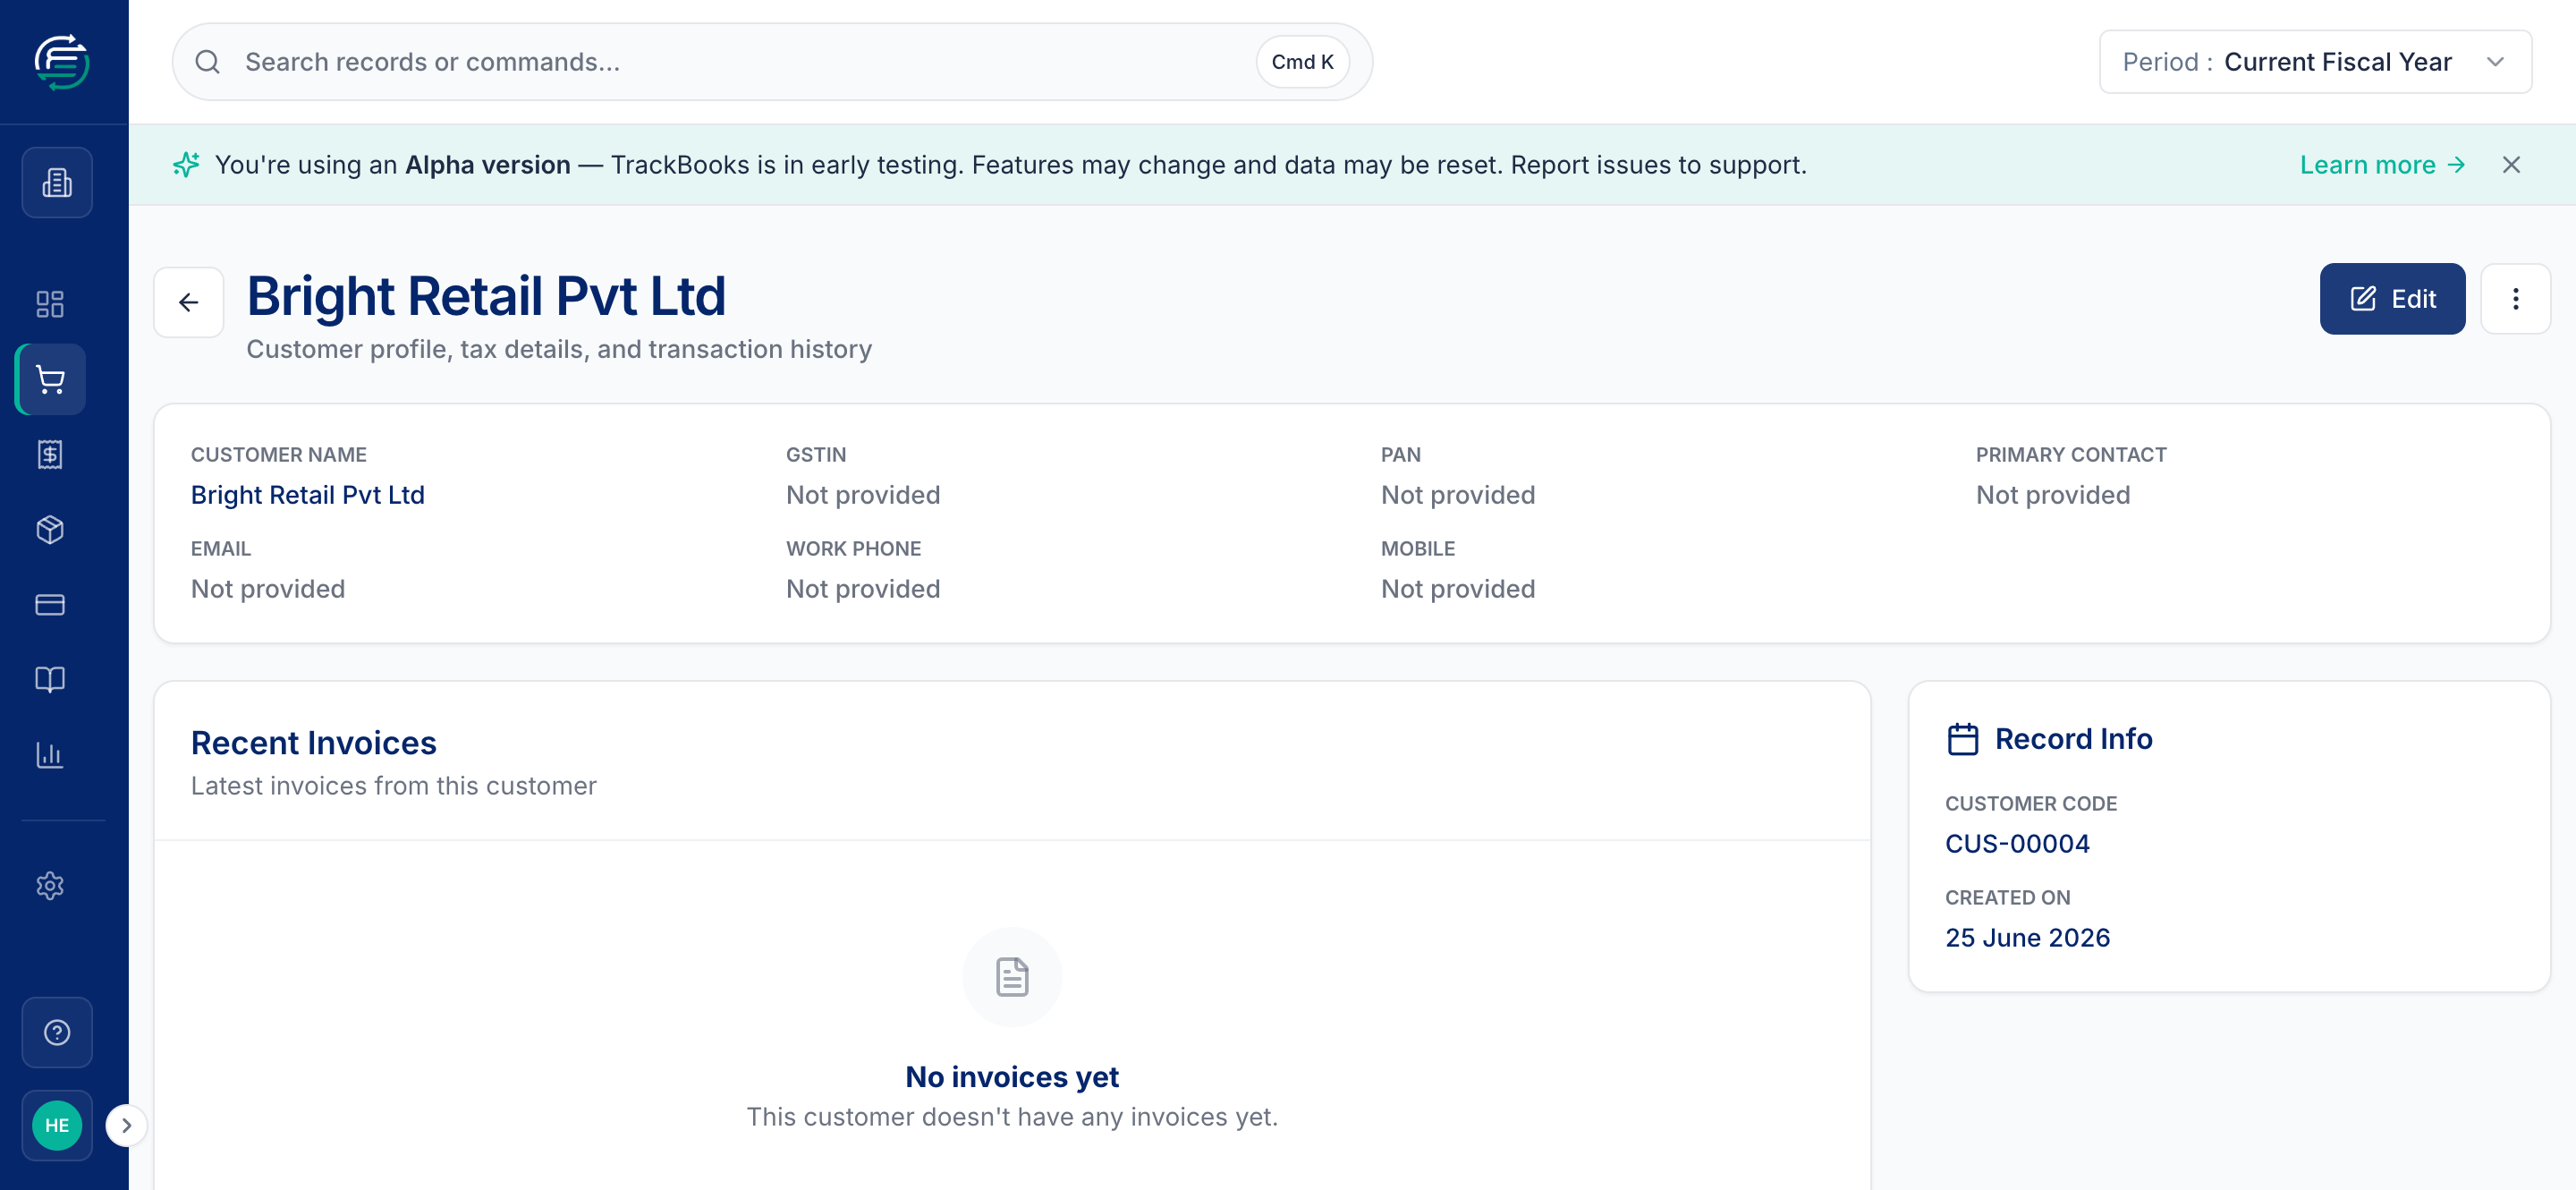
Whether a customer has a GSTIN matters for GST
A customer with a GSTIN is reported under B2B in GSTR-1; without one, the sale is B2C. So fill the GSTIN whenever the customer is a registered business.
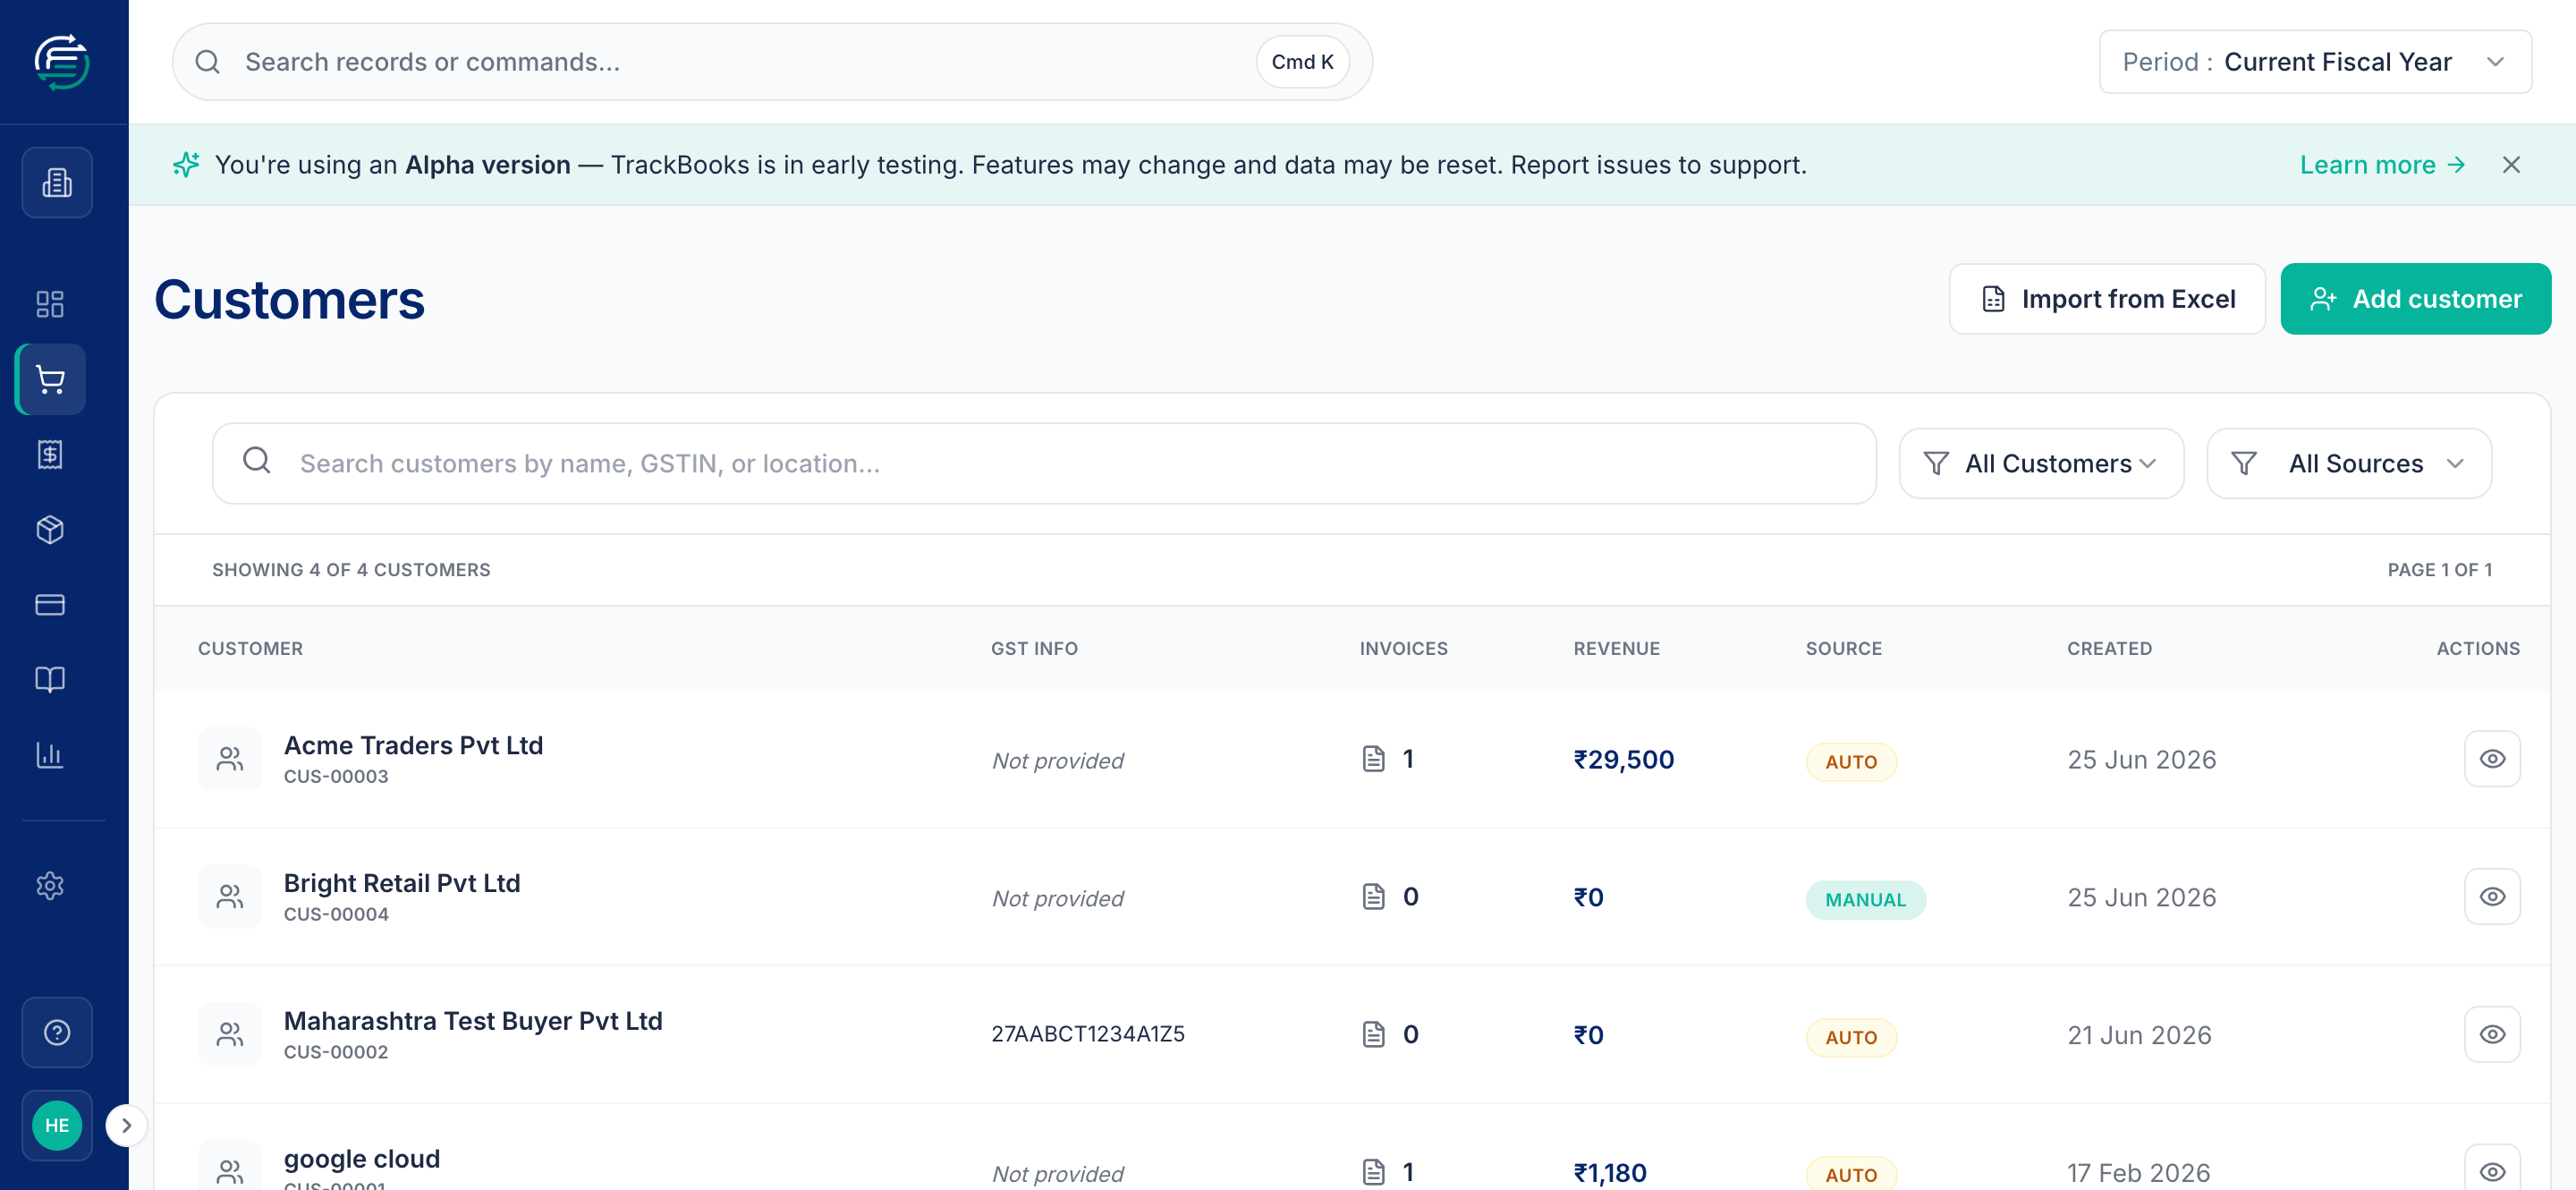
The customers list
Sales → Customers lists every customer with a search box. From here you can open any customer, edit it, or import many at once.
Add a vendor
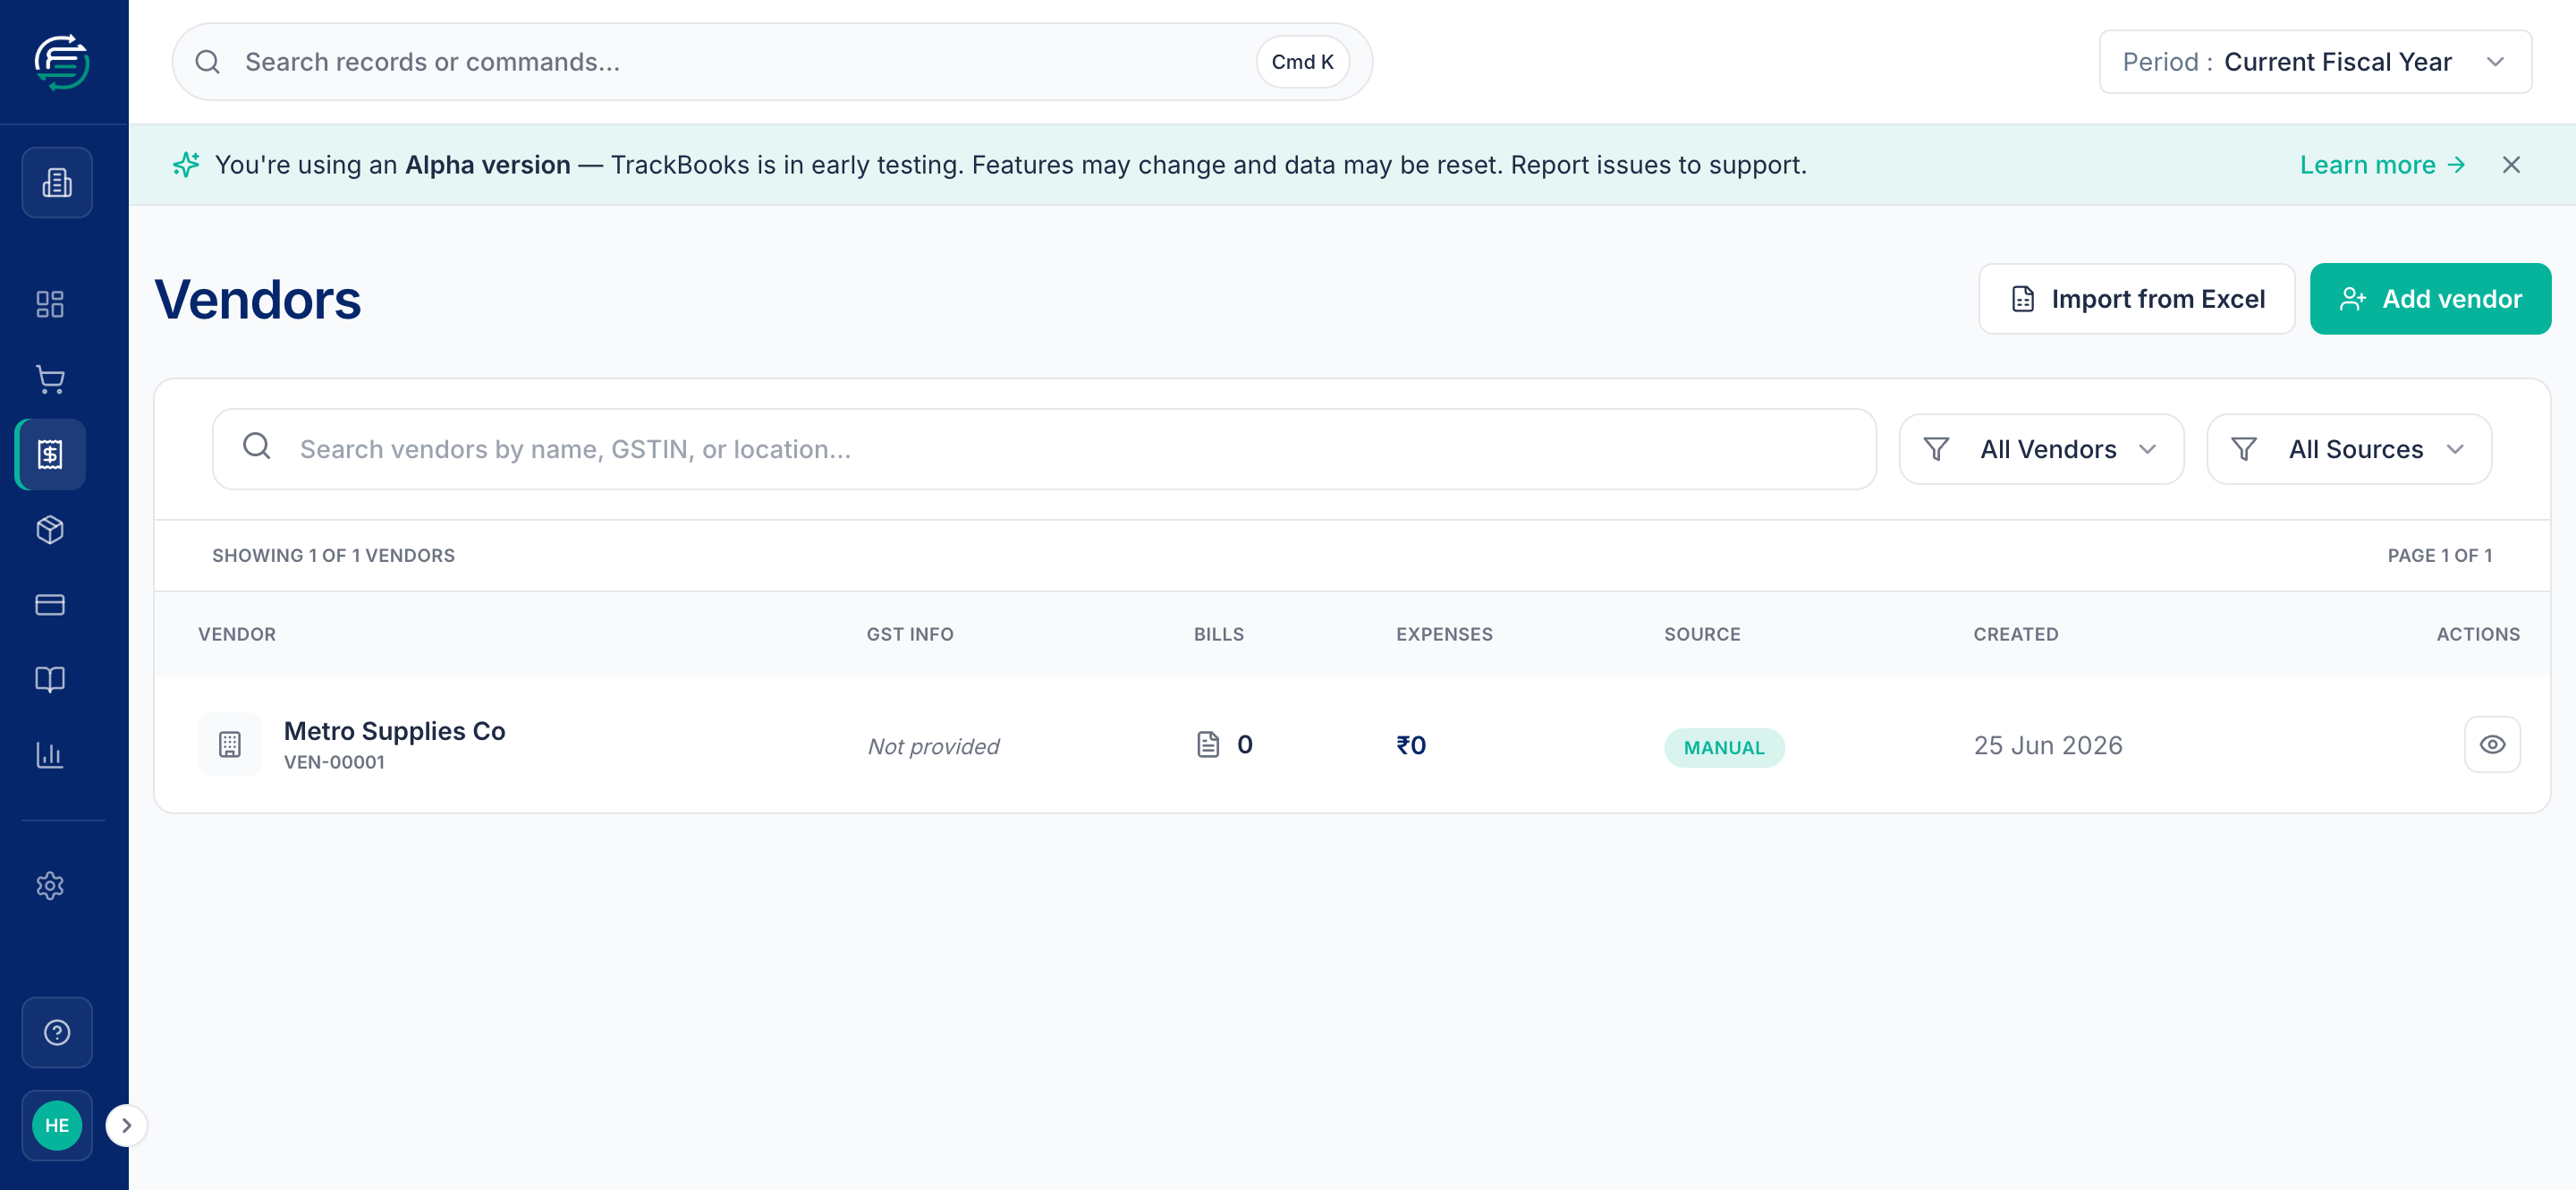
Vendors work the same way: Purchases → Vendors → Create new vendor. The form mirrors customers, with a few purchase-specific options:
- MSME Registered Vendor — tick this if the vendor is MSME/Udyam registered (needed for the Schedule III disclosure on overdue MSME payables).
- TDS Applicable — tick this if you deduct TDS on payments to this vendor.
Enter the vendor's GSTIN and name and click Create Vendor. The vendors list mirrors the customers list.
Bulk import
If you're migrating from another system, use Import on the customers or vendors list to upload many parties at once instead of typing them in one by one.
Tips & common issues
Create parties as you go
You don't have to set everyone up first. When you raise an invoice or bill, typing a new party name lets you create the record on the spot.
Attach the GST certificate
Both forms let you upload the party's GST certificate (PDF/JPG/PNG) — handy for your records and for verifying their registration.
Related guides
- Create & post a sales invoice — invoices link to customers.
- Create & post a purchase bill — bills link to vendors.