Set up your company
This guide walks you through the one-time setup every new TrackBooks company needs: your company profile, GST registration, financial year, and team access. Do this once and the rest of TrackBooks works correctly from day one.
What this is
When you first create a company in TrackBooks, a few core settings drive everything else — your legal identity (for invoices), your GSTIN (for tax calculation and GST returns), your financial year (for reports), and who can access the books. They all live in one place: the Settings hub, reached from Settings in the sidebar.
Before you begin
- Role required: Admin — most setup actions are admin-only.
- Have handy: your PAN, GSTIN(s), and registered address.
The Settings hub
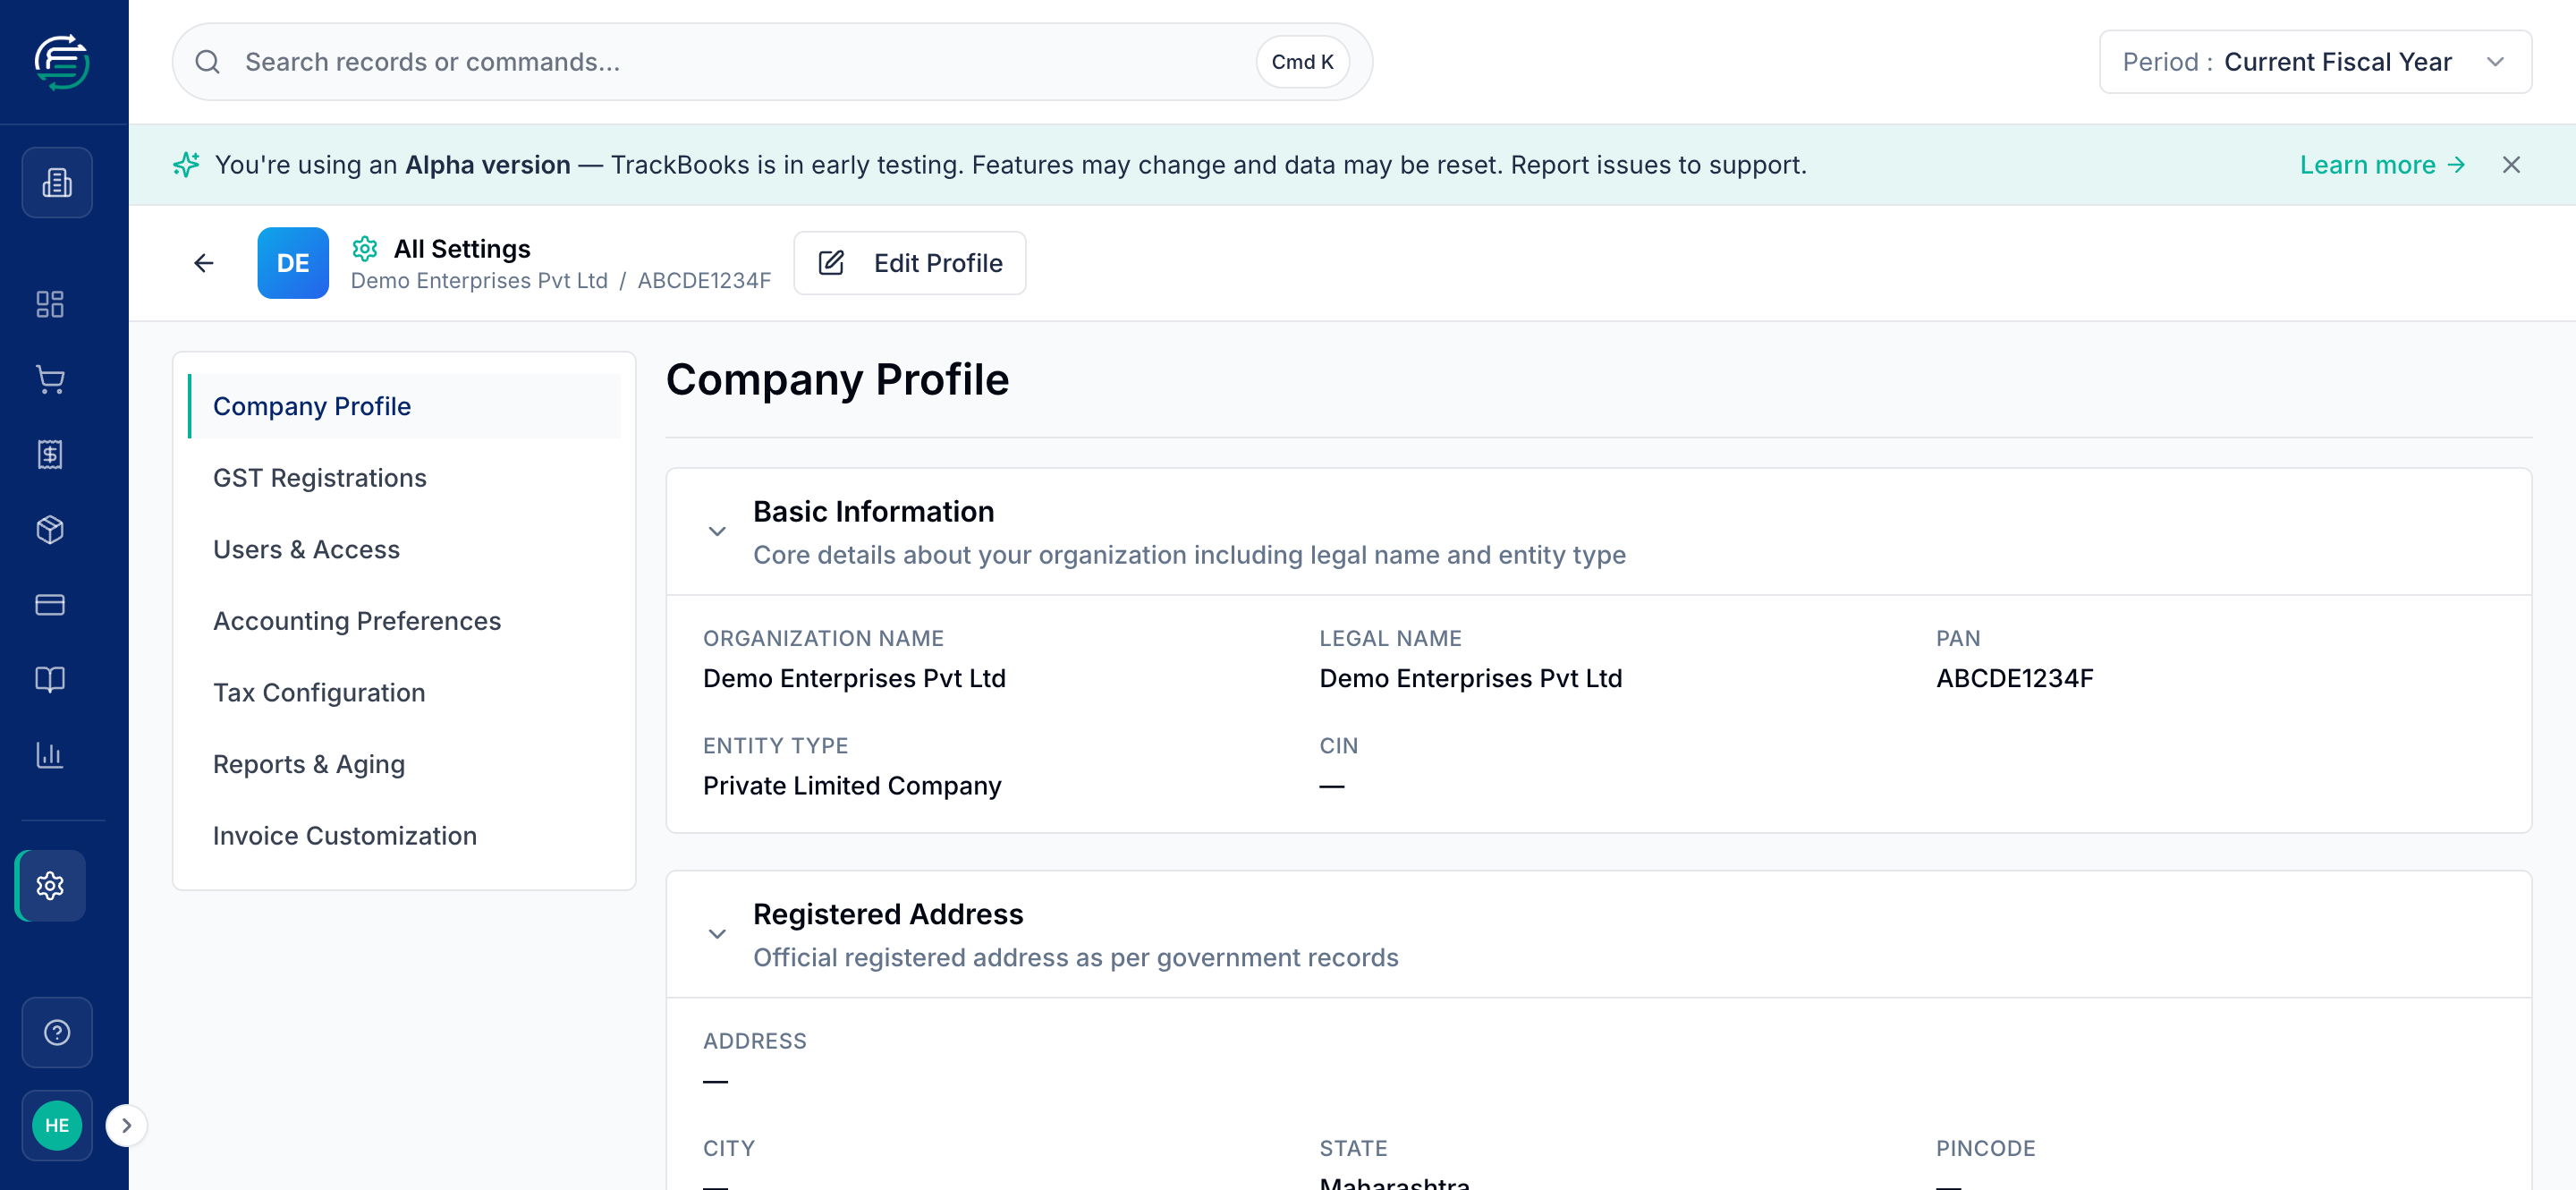
Click Settings in the sidebar. The hub has a tab for each area of setup down the left: Company Profile, GST Registrations, Users & Access, Accounting Preferences, Tax Configuration, Reports & Aging, and Invoice Customization.
Step 1 — Company Profile
Company Profile holds your legal identity — organization & legal name, PAN, entity type, registered address, and contact details. This is what prints on your invoices, so keep it accurate. Use Edit Profile to fill in anything marked "—".
Step 2 — GST Registration
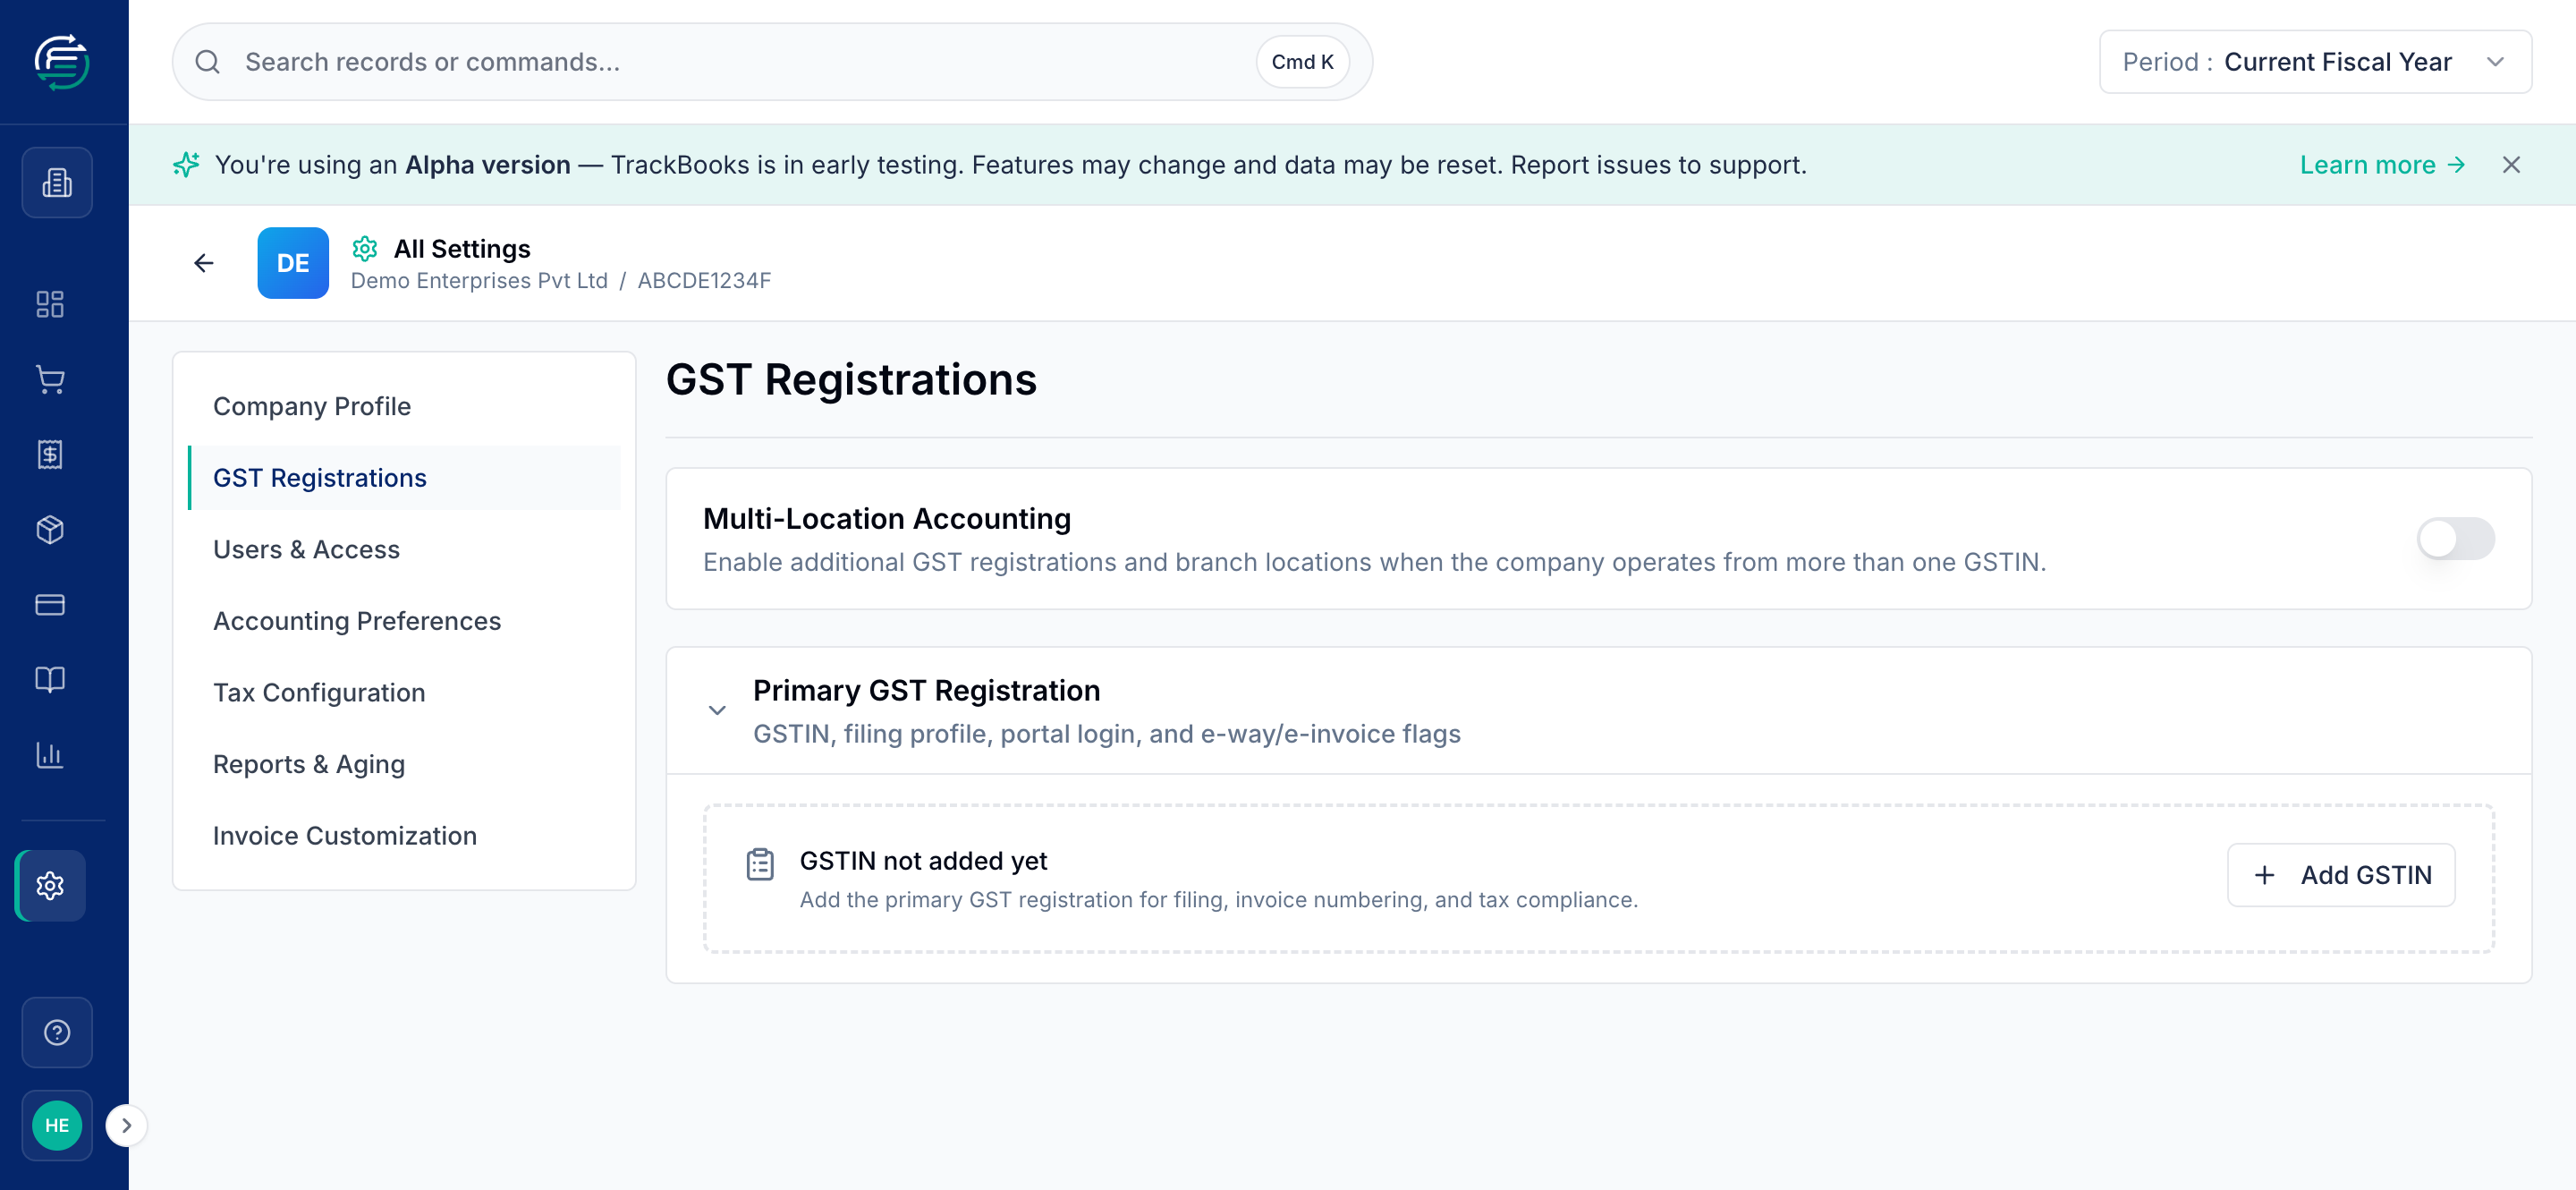
Open GST Registrations. Your primary GSTIN lives here, along with its taxpayer type, filing frequency (Monthly/Quarterly), and an optional GST portal login (used later for GSTR-2B). TrackBooks uses your GSTIN's state to decide CGST+SGST vs IGST on every invoice.
Operate in more than one state?
Turn on Multi-Location Accounting to add extra GSTINs / branch locations. Once enabled, a location switcher appears in the sidebar and you choose which branch a transaction belongs to. Each GSTIN files its own GST returns.
Step 3 — Accounting Preferences
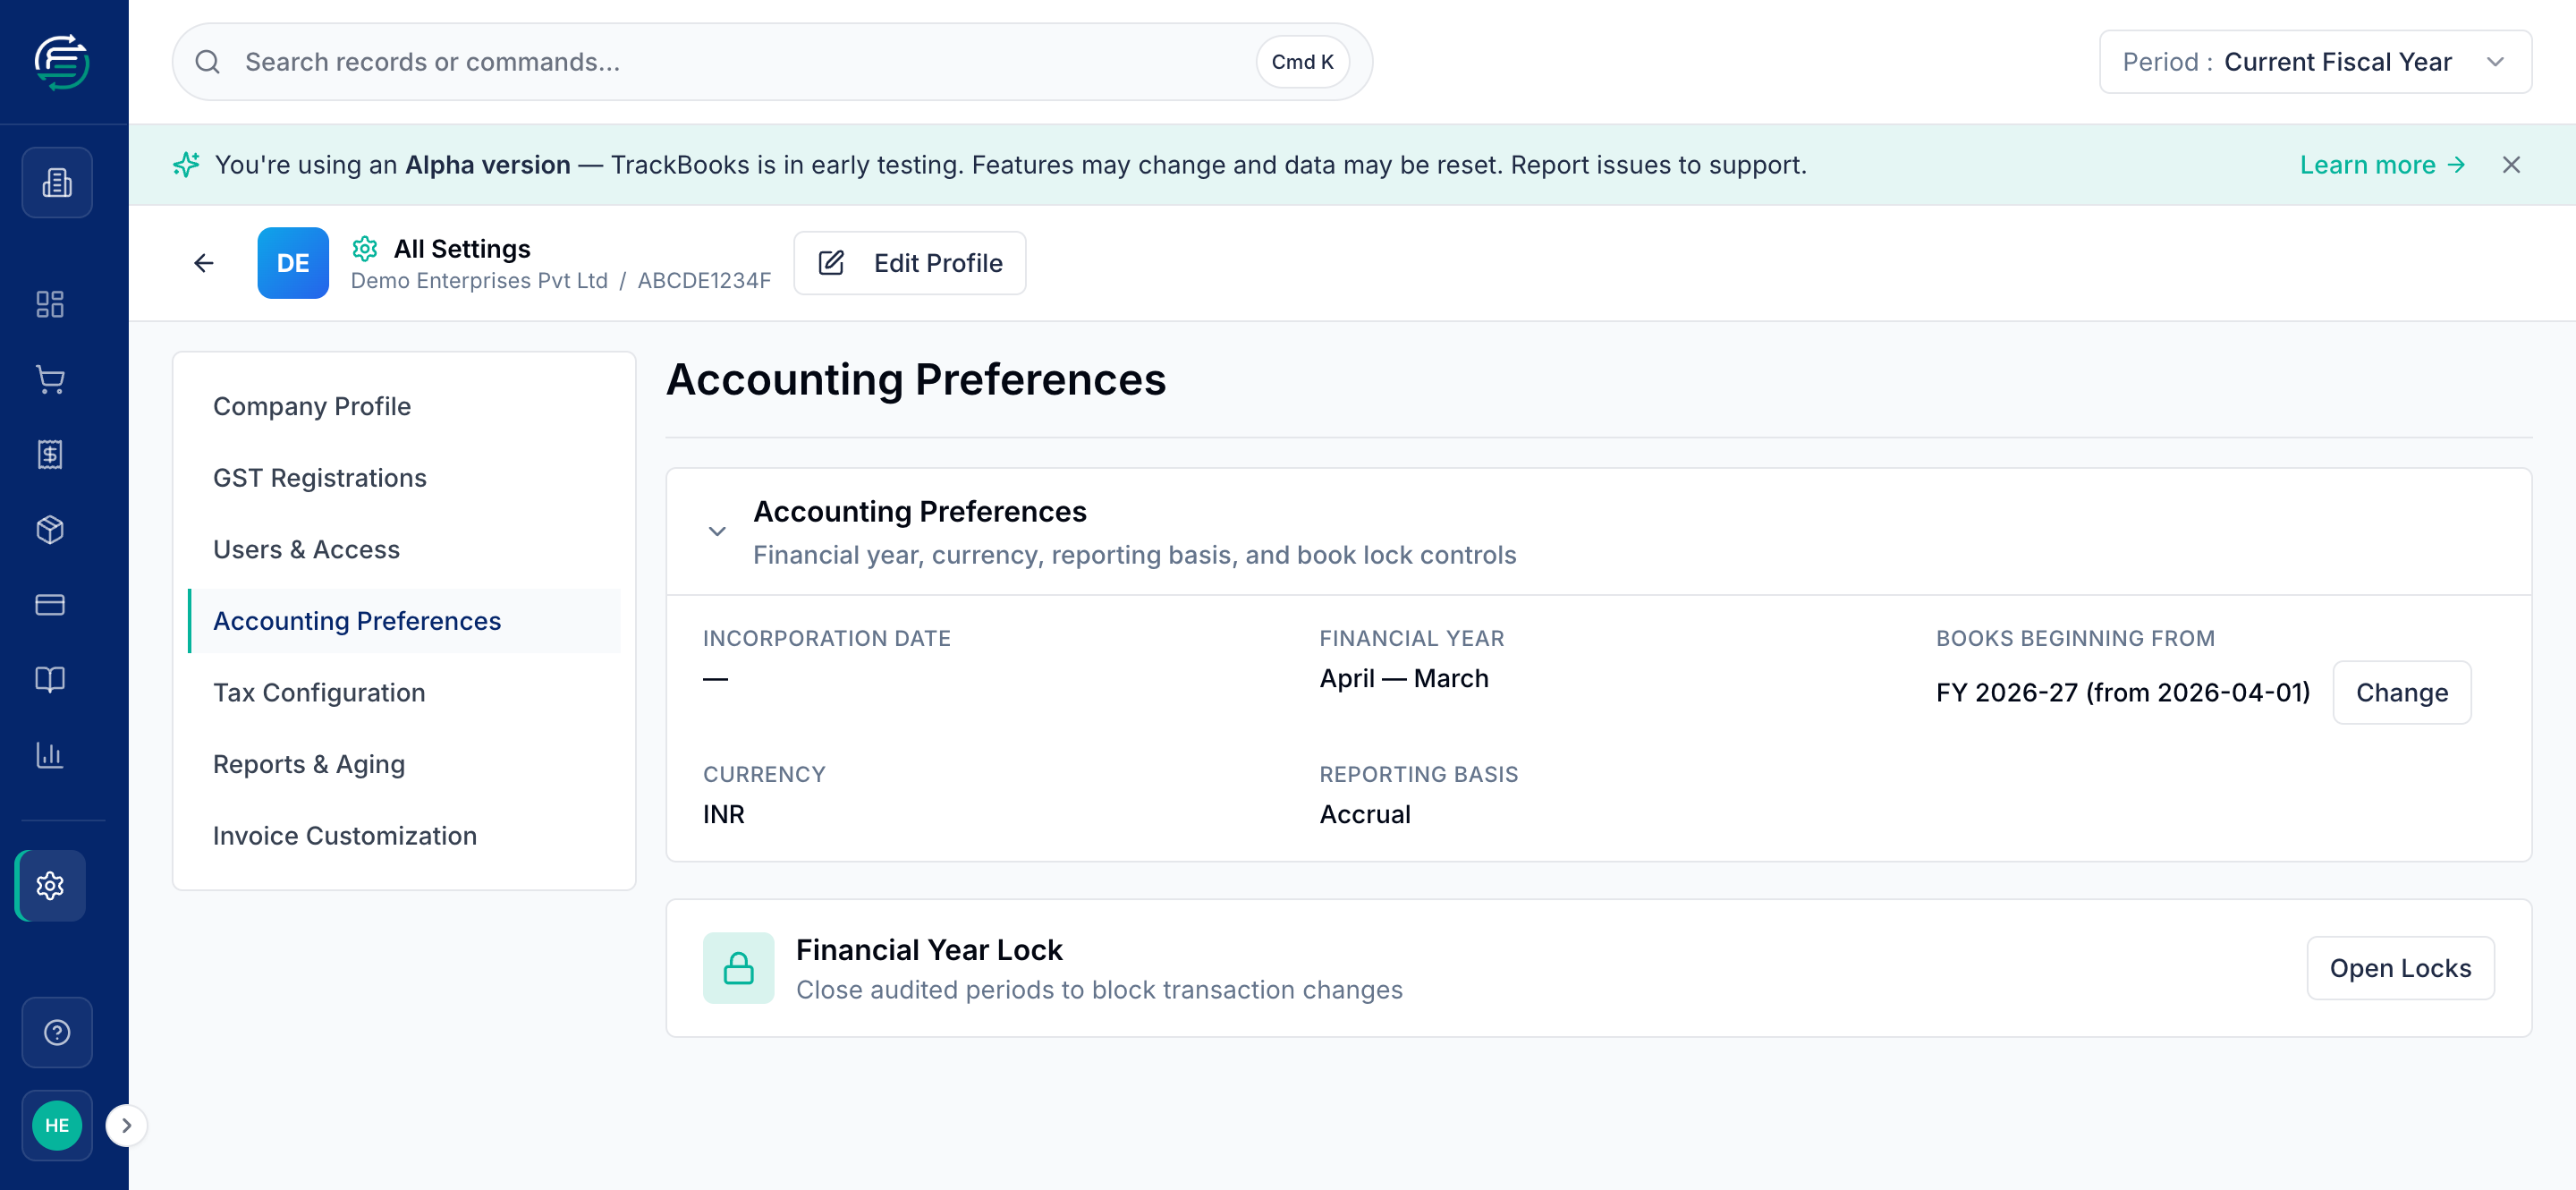
Open Accounting Preferences to confirm your Financial Year (April–March for most Indian businesses), Currency, and Reporting Basis (Accrual/Cash). Set Books Beginning From to the date you start recording transactions.
Lock audited periods
Once a period is filed and audited, use Financial Year Lock → Open Locks to close it. Locked periods block any further transaction changes, protecting your audited numbers.
Turning on inventory? Activate it here too
If you enable the inventory module, come back to Accounting Preferences to activate tracking — choose start with zero opening stock, or upload opening stock / a mid-year takeover. Stock only starts moving once you confirm. See Products & inventory for the full walkthrough.
Step 4 — Invite your team
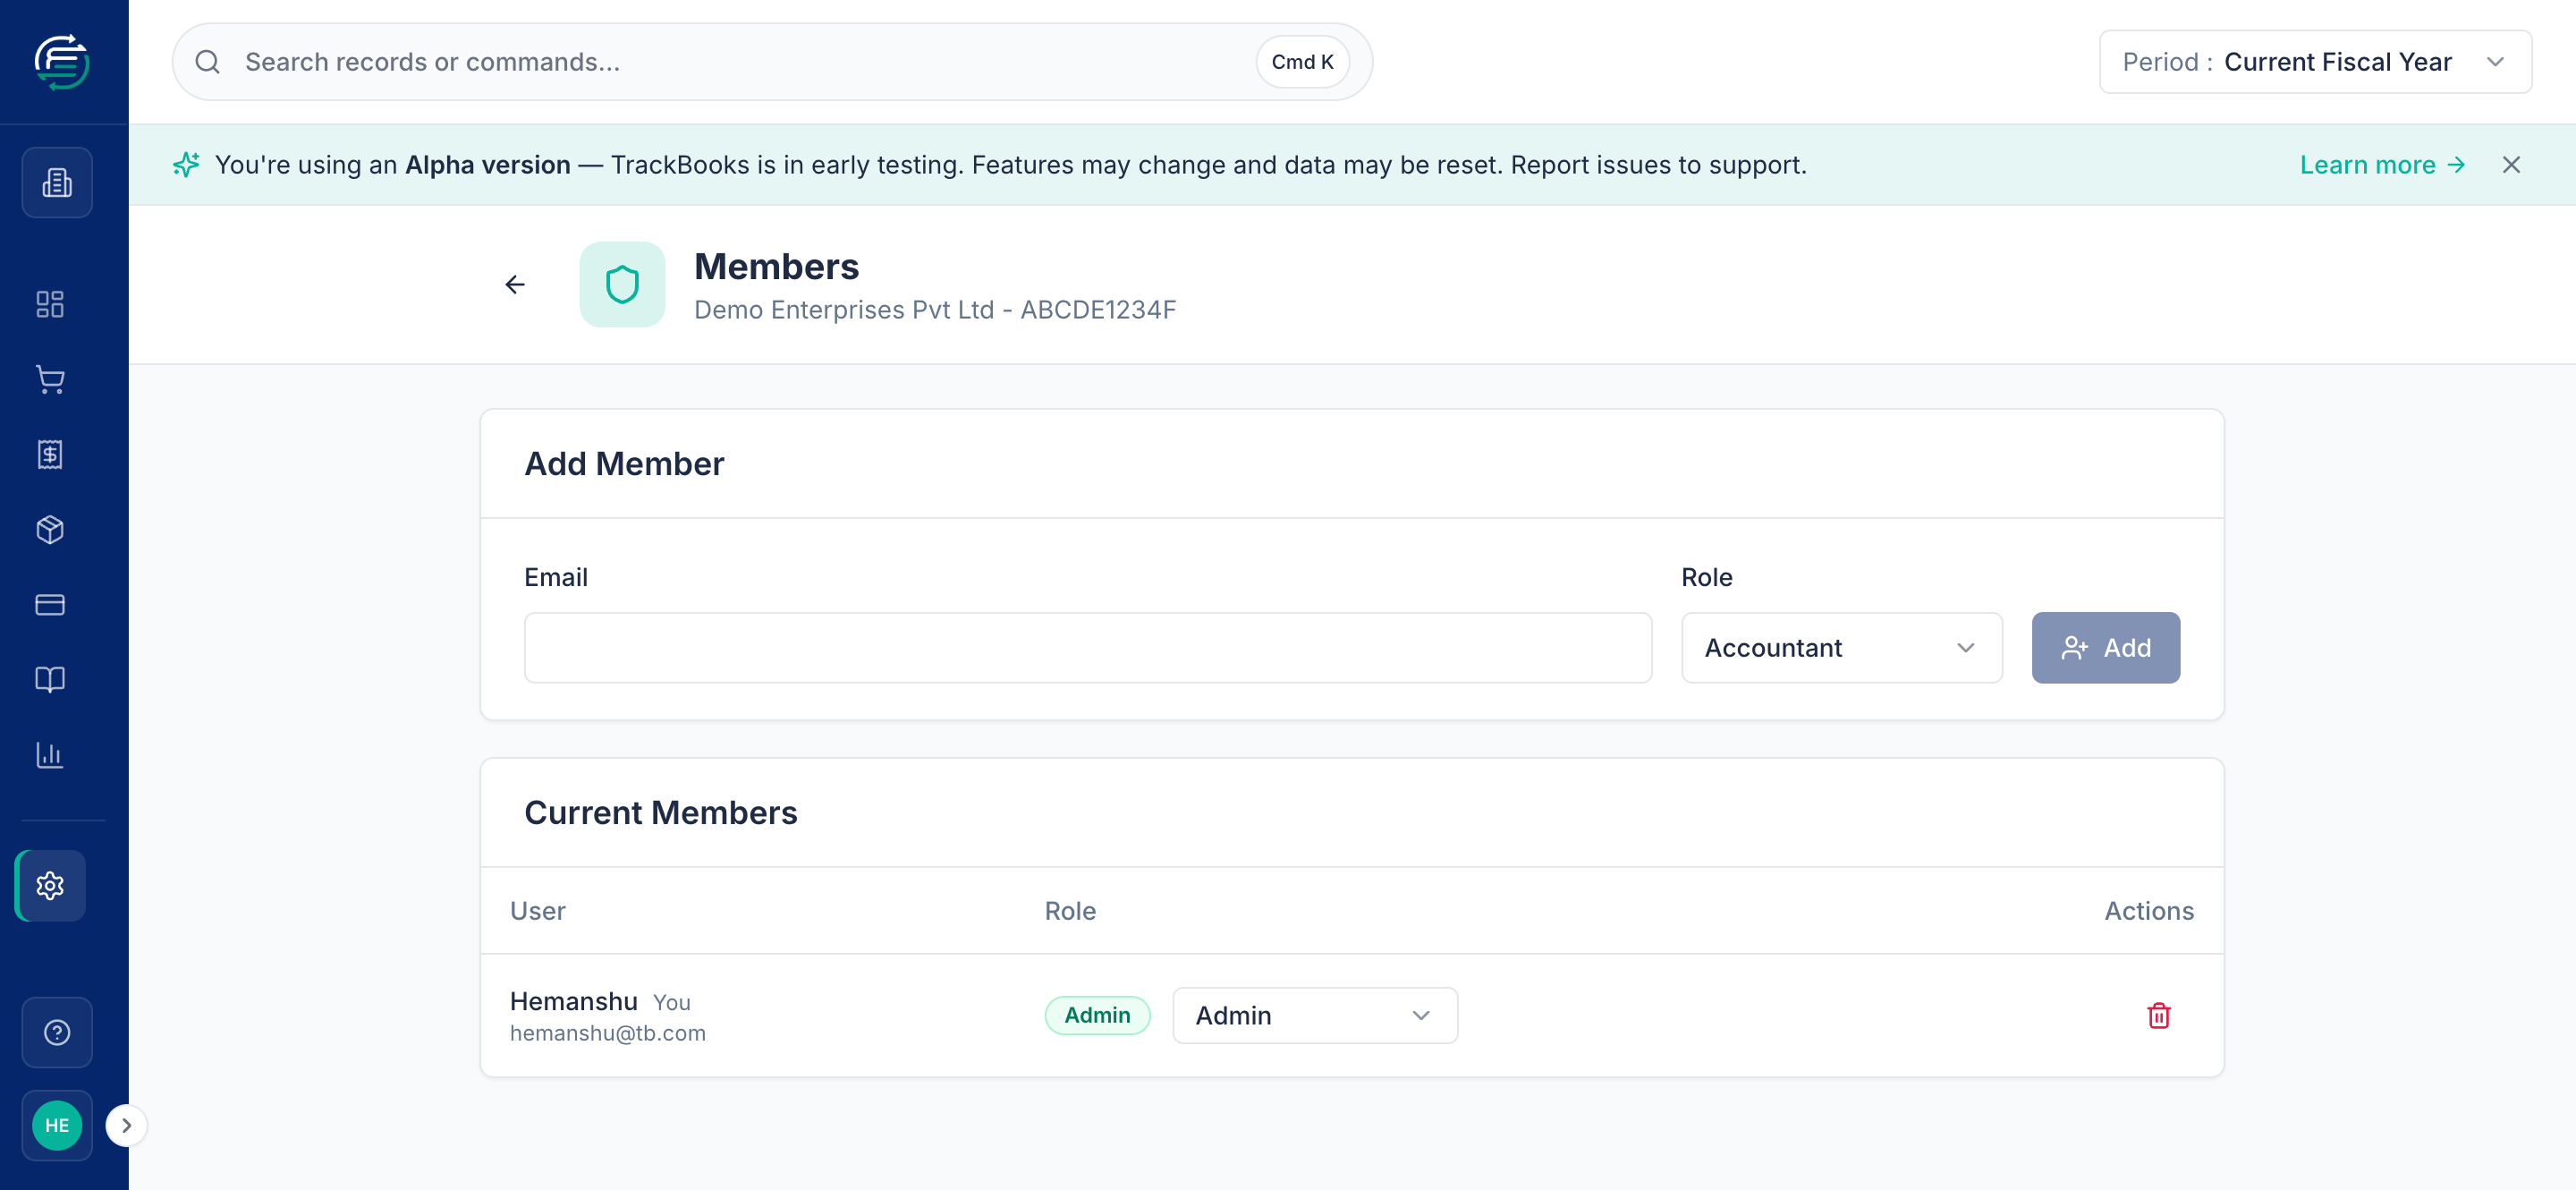
Open Users & Access → Open Members to add colleagues. Enter their email, pick a role, and click Add.
The three roles are:
| Role | Can do |
|---|---|
| Admin | Everything, including settings, members, and destructive actions |
| Accountant | Day-to-day bookkeeping — invoices, bills, banking, reports |
| View Only | Read-only access; cannot create or change anything |
What's next
With setup done, you're ready for daily work:
Tips & common issues
Customise your invoice look later
The Invoice Customization tab controls your numbering series, PDF branding, and template — see Settings & customization.
Get the GSTIN state right
Your GSTIN's first two digits are your state code, and they drive the entire tax calculation. An incorrect state here will mis-classify every invoice as intra- vs inter-state.